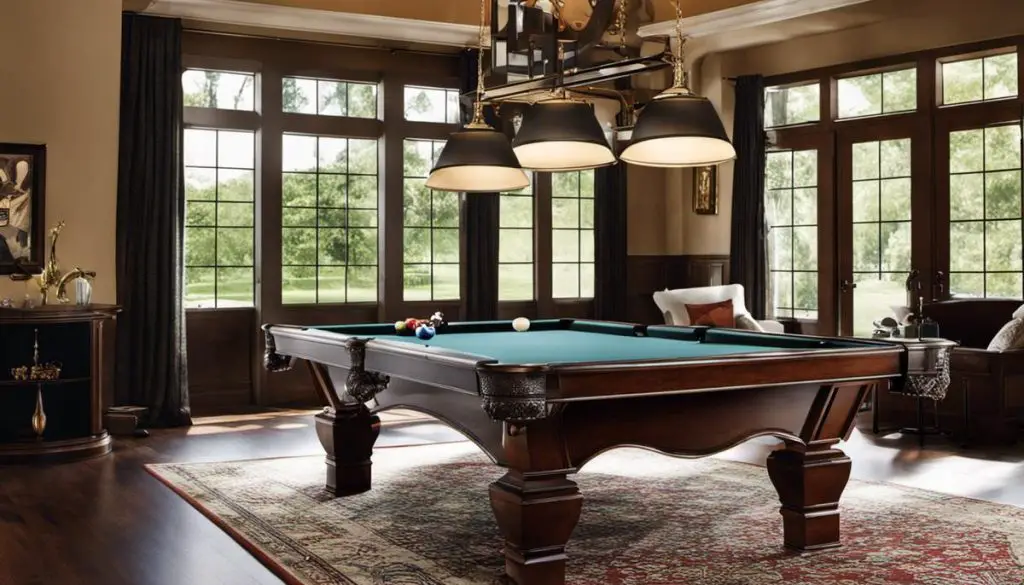
A pool table is a great addition to any home. Not only is it a fun game to play, but it can also be used for entertainment purposes. If you are thinking about purchasing a pool table, or if you have one and need help assembling it, then this blog post is for you. In this post, we will tell you how to assemble a pool table. We will also provide some tips on how to make the process easier. Let’s get started!
How Do I Put A Pool Table Together?

Assembling a pool table is not as difficult as you may think. With a little patience and the help of a friend, you can have your pool table assembled in no time.
Get The Right Tools For The Job
You will need:
– A Phillips head screwdriver
– A flat head screwdriver
– A hammer
– A measuring tape
– An Allen wrench set
First, you will need to gather all of the necessary tools. These include a Phillips head screwdriver, a flat head screwdriver, a hammer, a measuring tape, and an Allen wrench set. Once you have all of the tools, you are ready to begin.
Measure The Room
The first step is to measure the room where you will be putting the pool table. You need to make sure that there is enough space for the table, as well as for people to move around it. To do this, measure the length and width of the room. Then, add two feet to each measurement. This will give you the minimum amount of space that you need.
Now that you know how much space you need, it is time to start assembling the pool table.
Another interesting read: How To Replace Pool Table Pockets
Follow The Instructions Carefully
The next step is to follow the instructions that came with your pool table. This is important, as each table is different and may have its own unique instructions. If you are unsure about something, it is always best to ask for help or look online for additional resources.
For example, some pool tables will require you to attach the legs before attaching the rails. Others may have you do it in the reverse order. It is important to follow the instructions carefully so that you do not damage the table or injure yourself.
Double-Check Your Measurements
Before you begin attaching the rails, it is important to double-check your measurements. This will ensure that the table is level and that the rails are properly aligned.
To do this, measure the distance between the two outside rails. Then, measure the distance between the two inside rails. These measurements should be equal. If they are not, then you will need to adjust the rails until they are level.
Once you have double-checked your measurements, you can begin attaching multiple parts.
Assemble The Table Top First

The next step is to assemble the tabletop. To do this, you will need to attach the six rails to the six legs. Then, you will need to attach the two side aprons.
Start by attaching the two end rails to the legs. Then, attach the two side rails. Finally, attach the two middle rails. Once all of the rails are in place, you can attach the side aprons.
To do this, simply screw the aprons into the rails. Make sure that the screws are tight so that the aprons do not move.
Another interesting read: The Snookball Rules
Use The Right Clamps
To attach the rails, you will need to use clamps. These clamps help to hold the rail in place while you screw it into the table. It is important to use the right size clamp for the rail you are attaching. If the clamp is too small, it will not hold the rail in place. If it is too big, it may damage the rail.
There are two types of clamps that you can use: C-clamps and bar clamps. C-clamps are the most common type of clamp and can be found at most hardware stores. Bar clamps are also available, but they are not as common.
To attach the rails, you will need to place a clamp on each end of the rail. Then, use your screwdriver to attach the rail to the table. Start with one screw in each end, and then add additional screws until the rail is secure.
Keep Everything In Place As You Work
As you attach the rails, it is important to keep everything in place. This includes the clamps, the screws, and the rails themselves. If something moves out of place, it can cause the rail to become misaligned or damage the table.
To help keep everything in place, it is often helpful to have someone else hold the rail while you attach it. This will help to keep the rail from moving as you work.
If you are working alone, you can use tape or another type of adhesive to help keep the rail in place.
Your pool table is now complete! Be sure to test it out before inviting friends over for a game. Thanks for reading!
How To Play Your First Game On A Newly Arrived Pool Table?

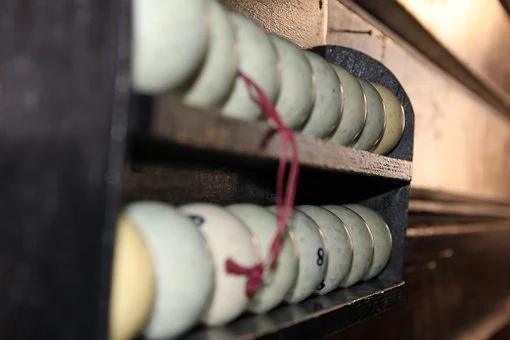
Set Up The Balls First
When you’re ready to start playing, the first thing you need to do is set up the balls. To do this, you will need to gather all of the balls and place them in the triangle at the edge of the table. The point of the triangle should be touching the center of the headrail.
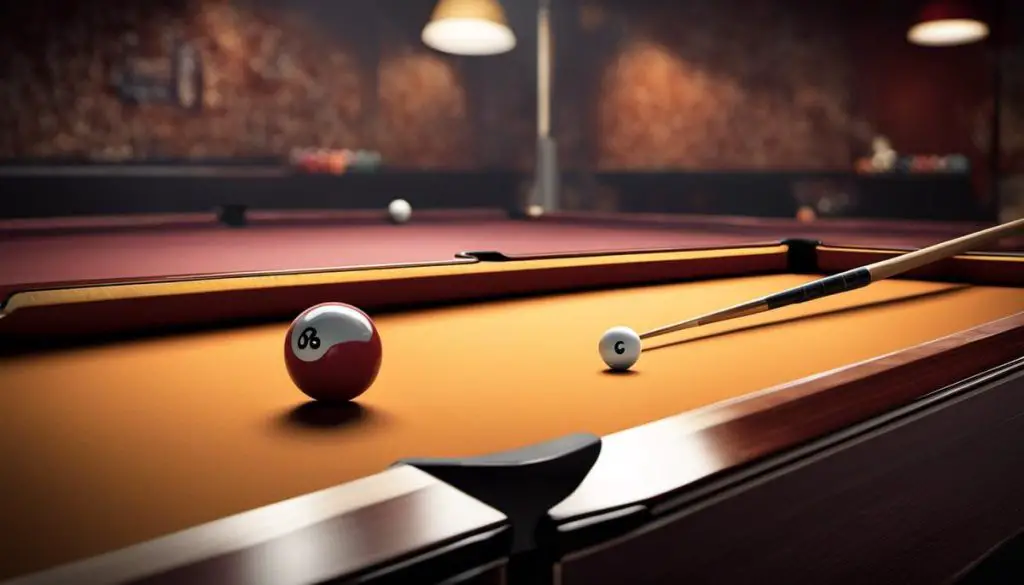
Learn To Break
Once all of the balls are in place, it is time to break. To do this, take your cue stick and aim for the center of the triangle. Hit the cue ball with as much force as you can without scratching the table.
Another interesting read: Who Buys Pool Tables?
If done properly, the cue ball will hit the other balls and spread them out across the table. You should now have four balls in front of each pocket.
Start Shooting
Now that the balls are set up, it is time to start shooting. To shoot, take your cue stick and aim for the ball you want to hit. If you are shooting at a striped ball, aim for the point where the stripes meet. This will help ensure that the ball goes into the pocket.
If you are shooting at a solid ball, aim for the center of the ball. Once you have aimed, take your shot. Remember to hit the cue ball with as much force as you can without scratching the table.
If you make a ball into a pocket, you will get another turn. If you miss, it is the next player’s turn. The game is over when all of the balls have been made into pockets. The player with the most balls in their pocket at the end of the game is the winner.
Wrapping Up
There you have it! These are the basics of how to play pool. Be sure to practice before inviting friends over for a game. With a little practice, you’ll be shooting like a pro in no time!
I hope you enjoyed this blog post on how to play your first game on a newly arrived pool table. Stay tuned for more posts on all things pool, including tips on how to improve your game! Thanks for reading!
Another interesting read: 3 Player Pool Games